How to Read Hair Transplant Before-and-After Photos
Every hair transplant before-and-after gallery makes the same promise: this is what surgery can do. But two galleries showing the same graft count can represent very different levels of skill, and two photos of the same patient taken a week apart can tell opposite stories. Learning to read a before-and-after set — the timing, the angle, the lighting, the starting point — matters as much as looking at the result itself. This section explains what actually changes after a hair transplant, month by month, and what separates a documented result from a marketing photo.
The Realistic Recovery Timeline: What Changes, Month by Month
Transplanted hair does not simply "take" and grow on schedule like a seed in soil. Each follicular unit goes through a biological cycle after implantation, and a before-and-after set only tells the truth if both photos are anchored to the correct point on that cycle.
- Weeks 0–3 — Healing, not growth. Redness and scabbing in the recipient area resolve within 7–10 days. The transplanted hair shafts are still visible at this stage, but they are cosmetic, not permanent — the follicle beneath the skin is what matters, and it is dormant.
- Weeks 3–8 — Shock loss. Most of the visibly transplanted hair sheds. This is expected and does not mean the graft has failed — the follicle survives under the skin and re-enters a new growth cycle. This phase is precisely why comparing a "before" photo to a photo taken at week 4 or 5 is meaningless, and why disreputable galleries sometimes do exactly that to imply near-instant results, or in reverse, publish an artificially thinned "before" shot to inflate the apparent change.
- Months 3–4 — Early regrowth. New hair begins to emerge from the transplanted follicles. It is typically thin, soft and sparse at this point — often described by patients as the "ugly duckling" phase, because coverage looks patchy compared to both the original density and the eventual result.
- Months 5–8 — Thickening. Hair shafts gain calibre and the growth rate accelerates. Density becomes visually meaningful for the first time, though the hairline and crown may still look softer than the final outcome.
- Months 9–12 — Near-final density. The majority of transplanted follicles are now producing mature hair. Most clinics, including Hairmedico, document official results at this stage because the difference from this point to full maturity is refinement, not transformation.
- Months 12–18 — Full maturity. Hair reaches its final thickness, texture and styling behaviour. This is the only point at which a result can be honestly called "final" — earlier photos, however impressive, are still in progress.
What Makes a Before-and-After Set Trustworthy
Because the transplant industry is highly competitive and largely unregulated in how results are marketed, not every gallery online is what it claims to be. A genuine, verifiable result shares a specific set of characteristics that are simple to check for:
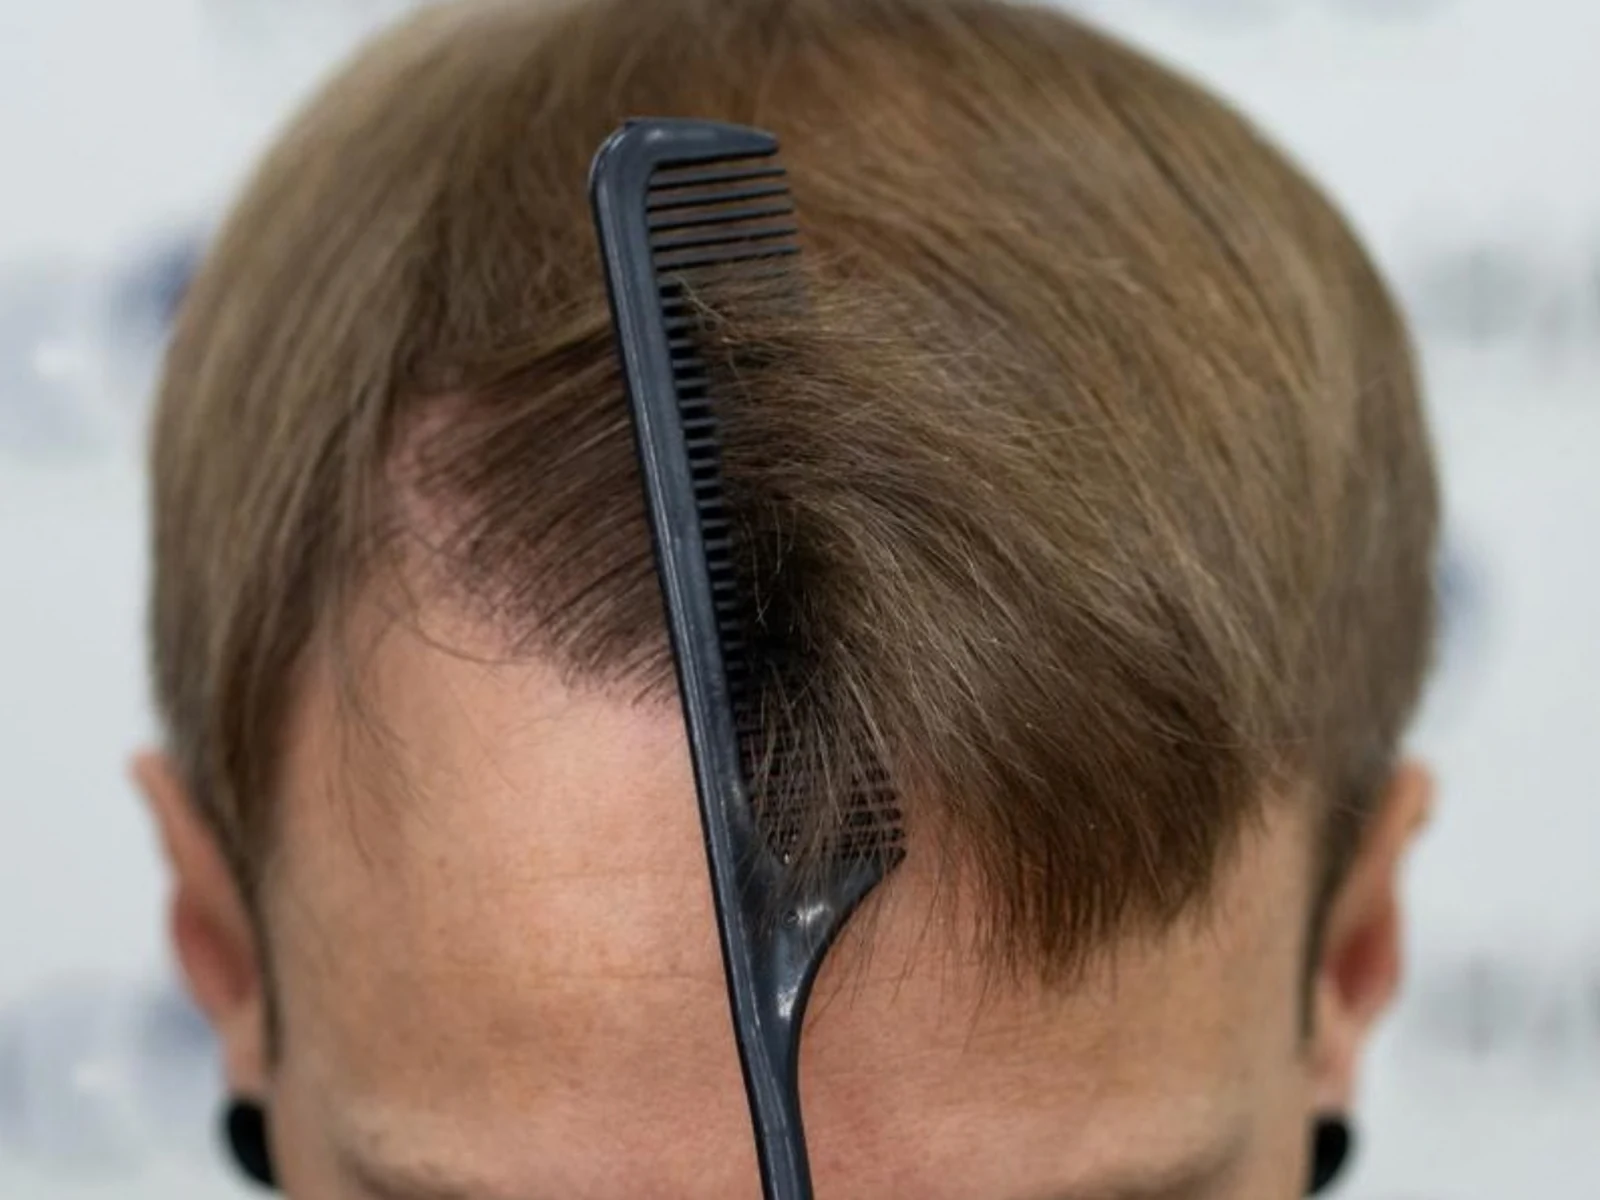
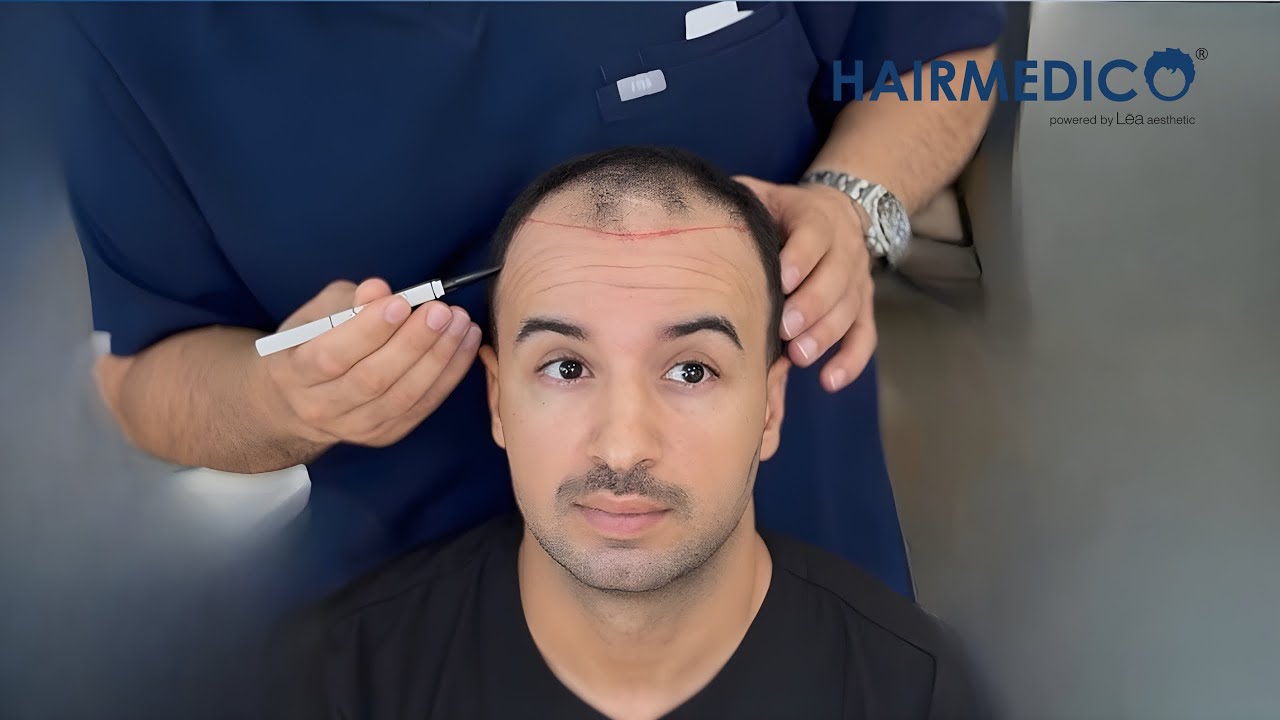
- Consistent angle and framing. The camera position, head tilt and distance should match between "before" and "after" — a slightly raised chin or a closer crop can make thinning hair look fuller without a single graft being involved.
- Consistent, even lighting. Harsh overhead light exaggerates scalp show-through in a "before" photo; soft, diffused light minimises it in an "after" photo. Photos taken in the same room, under the same lighting setup, are far more reliable than photos gathered from different sources.
- A stated time interval. As above — "after" should always specify months post-op, not just "after."
- Untreated, undyed hair at the time of photography. Hair fibres, concealing sprays and tinted scalp products can visually double apparent density in seconds. Genuine documentation photos are taken with clean, dry, unstyled hair specifically so nothing is hidden or enhanced.
- A visible or verifiable patient identity. Reviews and results that can be cross-checked against an independent platform — Hairmedico's results are cross-referenced against verified Trustpilot reviews — carry more weight than anonymous stock-style galleries.
None of this means an impressive photo is automatically fake. It means an impressive photo without this context is unverifiable, and unverifiable is precisely the space where the most misleading marketing lives.
Why Identical Graft Counts Can Look Completely Different
Patients frequently compare their planned graft count to a photo they found online and expect a matching result. In practice, graft count is only one of several variables that determine how dramatic a transformation looks — which is why two patients receiving 3,000 grafts each can walk away with visibly different outcomes.
- Donor density and follicular unit composition. A donor area rich in 3- and 4-hair follicular units delivers more visual coverage per graft than one dominated by single-hair units, even at an identical graft count.
- Hair-to-skin colour contrast. Dark hair on light skin shows scalp between strands more readily than hair and skin tone that are close in value. Lower-contrast combinations can look fuller at a lower density than high-contrast combinations at a higher one.
- Hair calibre and curl pattern. Coarser, wavier hair occupies more visual space per strand and provides natural lift, which is one reason planning accounts for calibre, not only follicle count — see Algorithmic FUE™ for how this is factored into donor mapping.
- Degree of baldness at the starting point. A patient starting from an early, localised recession has a fundamentally different canvas than a patient with advanced diffuse thinning across the crown — the second case requires the graft supply to be spread more conservatively to avoid a diluted, translucent result.
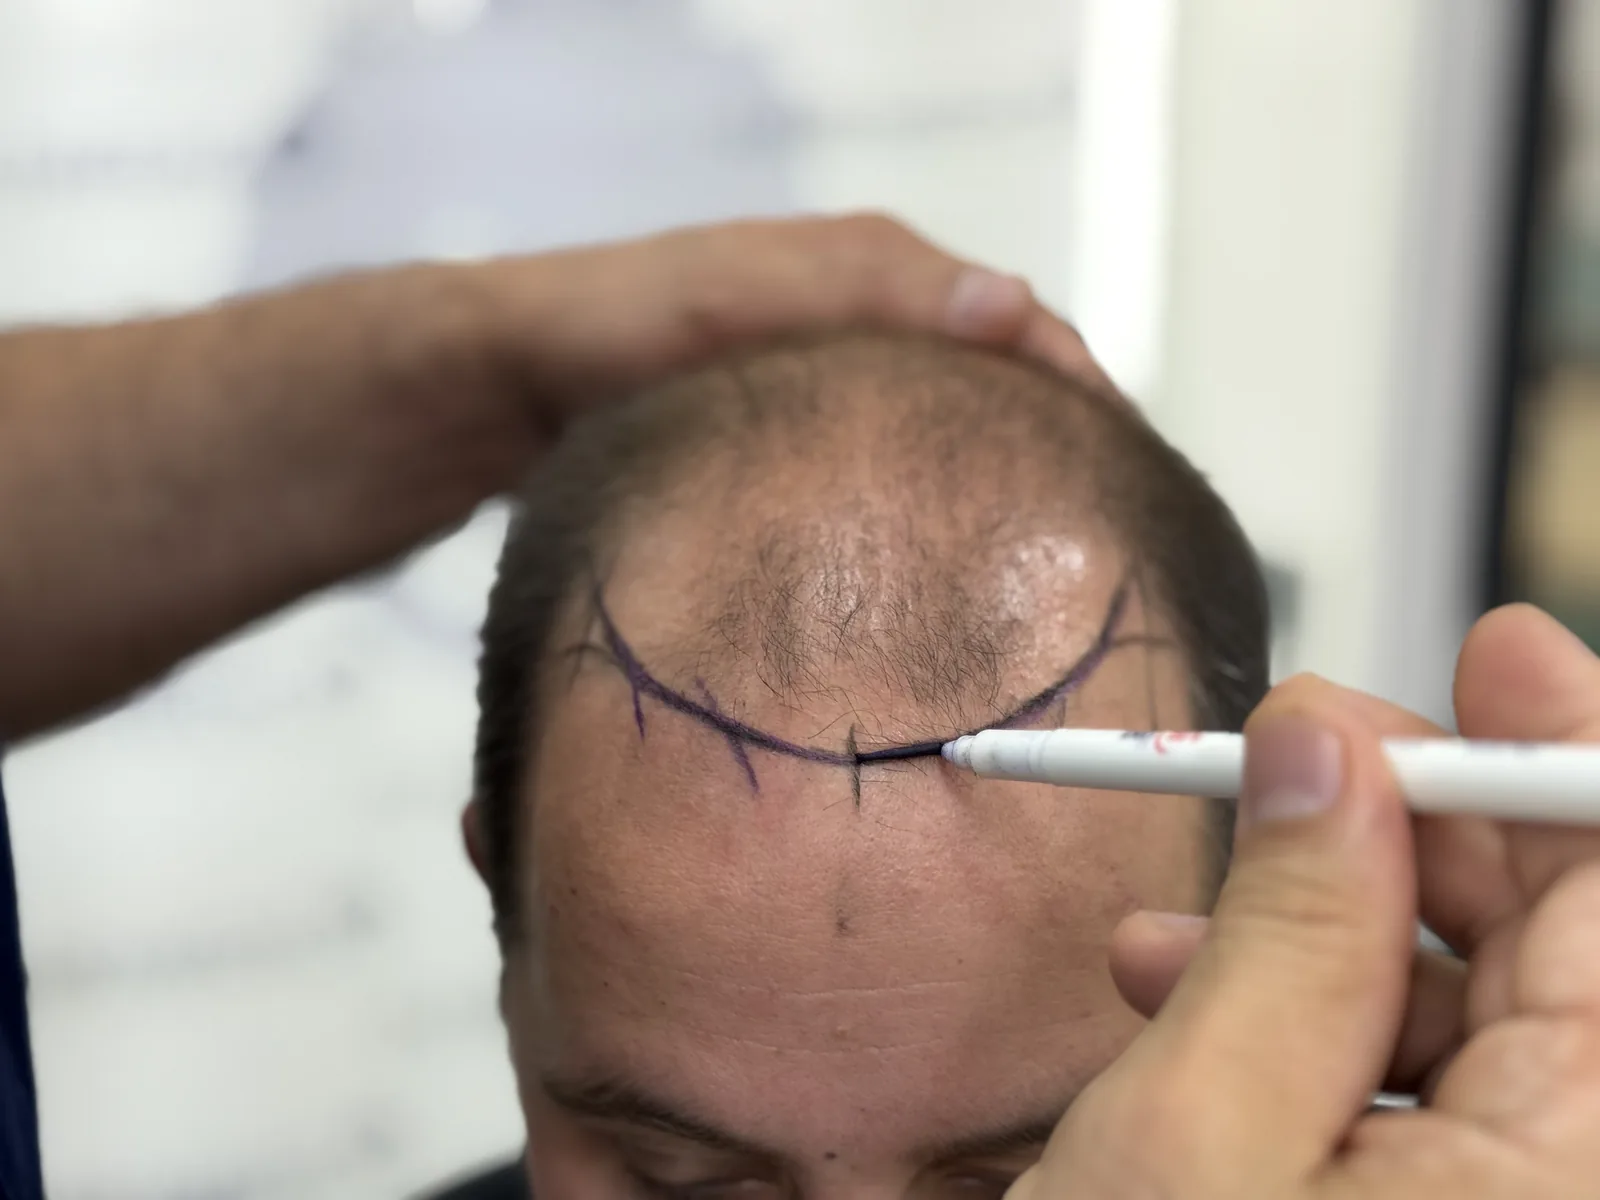
- Recipient-site technique. The angle, depth and density of the channels the surgeon creates determine how efficiently each graft is used. This is the variable patients can least evaluate from a photo alone, and the reason who actually performs the procedure is a more useful question than "how many grafts."
Reading Results by Starting Hair-Loss Pattern
A before-and-after photo is most informative when compared against a patient who started from a similar pattern of loss, not simply a similar graft count. The Norwood scale for men and the Ludwig scale for women classify the shape and extent of hair loss, and the classification has a direct effect on what a realistic result looks like:
- Early, hairline-only recession (Norwood II–III): Results tend to look the most dramatic relative to graft count, since the surrounding native hair is largely intact and only needs to be framed and extended forward.
- Vertex or crown thinning (Norwood III vertex): Crown coverage is judged from directly overhead, where hair naturally lies in a whorl pattern — a result that looks excellent from the front can still show some scalp from above, and an honest gallery will show both angles.
- Advanced pattern loss (Norwood V–VI): These cases require the surgeon to prioritise which zones receive density — typically the hairline and mid-scalp over the crown — because donor supply is finite. A transparent before-and-after set for this pattern should be judged on overall balance, not on achieving uniform density everywhere.
This is also why a single "best case" photo from a gallery says very little on its own. A meaningful comparison requires seeing multiple patients who started from a pattern similar to yours.
Diffuse thinning in women, classified on the Ludwig scale, behaves differently again in photographs. Because female pattern hair loss rarely progresses to total baldness and typically preserves the frontal hairline, the visible change in a before-and-after set is more often about restored part-line width and crown coverage than about a dramatic hairline shift — see female hair transplant results for pattern-matched examples rather than comparing directly against male Norwood cases.
Does the Technique Used Change What You Actually See?
Clinics frequently market FUE, DHI and Sapphire FUE as though the choice of technique alone determines the visual outcome. In reality, all three share the same extraction method — individual follicular units are removed one at a time — and differ only in how the recipient site is prepared and how quickly the graft is placed into it. This has a real but limited effect on what a before-and-after photo shows:
- Classic FUE (steel blade incisions): Slightly wider recipient channels. In experienced hands this is cosmetically invisible in a finished result, though it can permit marginally less density per cm² in tightly packed zones such as the hairline.
- Sapphire FUE: Finer, V-shaped channels allow closer graft spacing in the same session, which can translate into a visually denser hairline and crown at an equivalent graft count — see the Sapphire FUE comparison for the mechanical explanation.
- DHI (direct implantation): Grafts are loaded into a pen-style implanter and placed without a separately opened channel. Extraction-to-implantation time is typically shorter, which some surgeons believe modestly improves graft survival in large sessions — the visible density difference in a photo, however, comes from the same planning and technique variables described above, not from the implanter itself.
In practice, the surgeon's planning and hand skill account for far more of the visible difference between two before-and-after galleries than the technique label printed beneath the photo. A before-and-after set is far more informative when it states who performed the procedure than when it only states which of these three techniques was used.
Common Myths About Before-and-After Photos
A few misconceptions recur often enough among prospective patients that they are worth addressing directly:
- "The after photo must be photoshopped — no one gets that much coverage." Genuine, well-executed FUE and DHI results can look dramatic simply because density planning, hairline design and the patient's own hair characteristics compound together. Photoshopping is far less common than photos taken under favourable — but real — lighting and timing.
- "A worse-looking 'before' photo means the clinic is exaggerating." Some "before" photos genuinely look more severe because they were taken under harsh, direct light specifically to show the scalp clearly for planning purposes — the same reason a dermatologist's diagnostic photo looks different from a flattering selfie.
- "If the result looks perfect at 4 months, it must be fake." More often, the caption is simply missing or wrong. As covered above, a genuinely thin, early-stage result mislabelled as "final" is a documentation error, not necessarily an attempt to deceive — though it is still worth asking the clinic to confirm the exact timing.
- "More grafts always means a better result." As explained above, technique, density planning and the patient's own hair characteristics frequently matter more than raw graft count.
Questions Worth Asking Before You Trust Any Clinic's Gallery
Before comparing your own goals to a clinic's published results, it is reasonable to ask for the following — a clinic confident in its documentation will answer all of them without hesitation:
- How many months after surgery was this "after" photo taken?
- Were the "before" and "after" photos taken in the same location, under the same lighting?
- Can this patient's result be verified through an independent review platform?
- What was this patient's starting hair-loss pattern, and how many grafts were used?
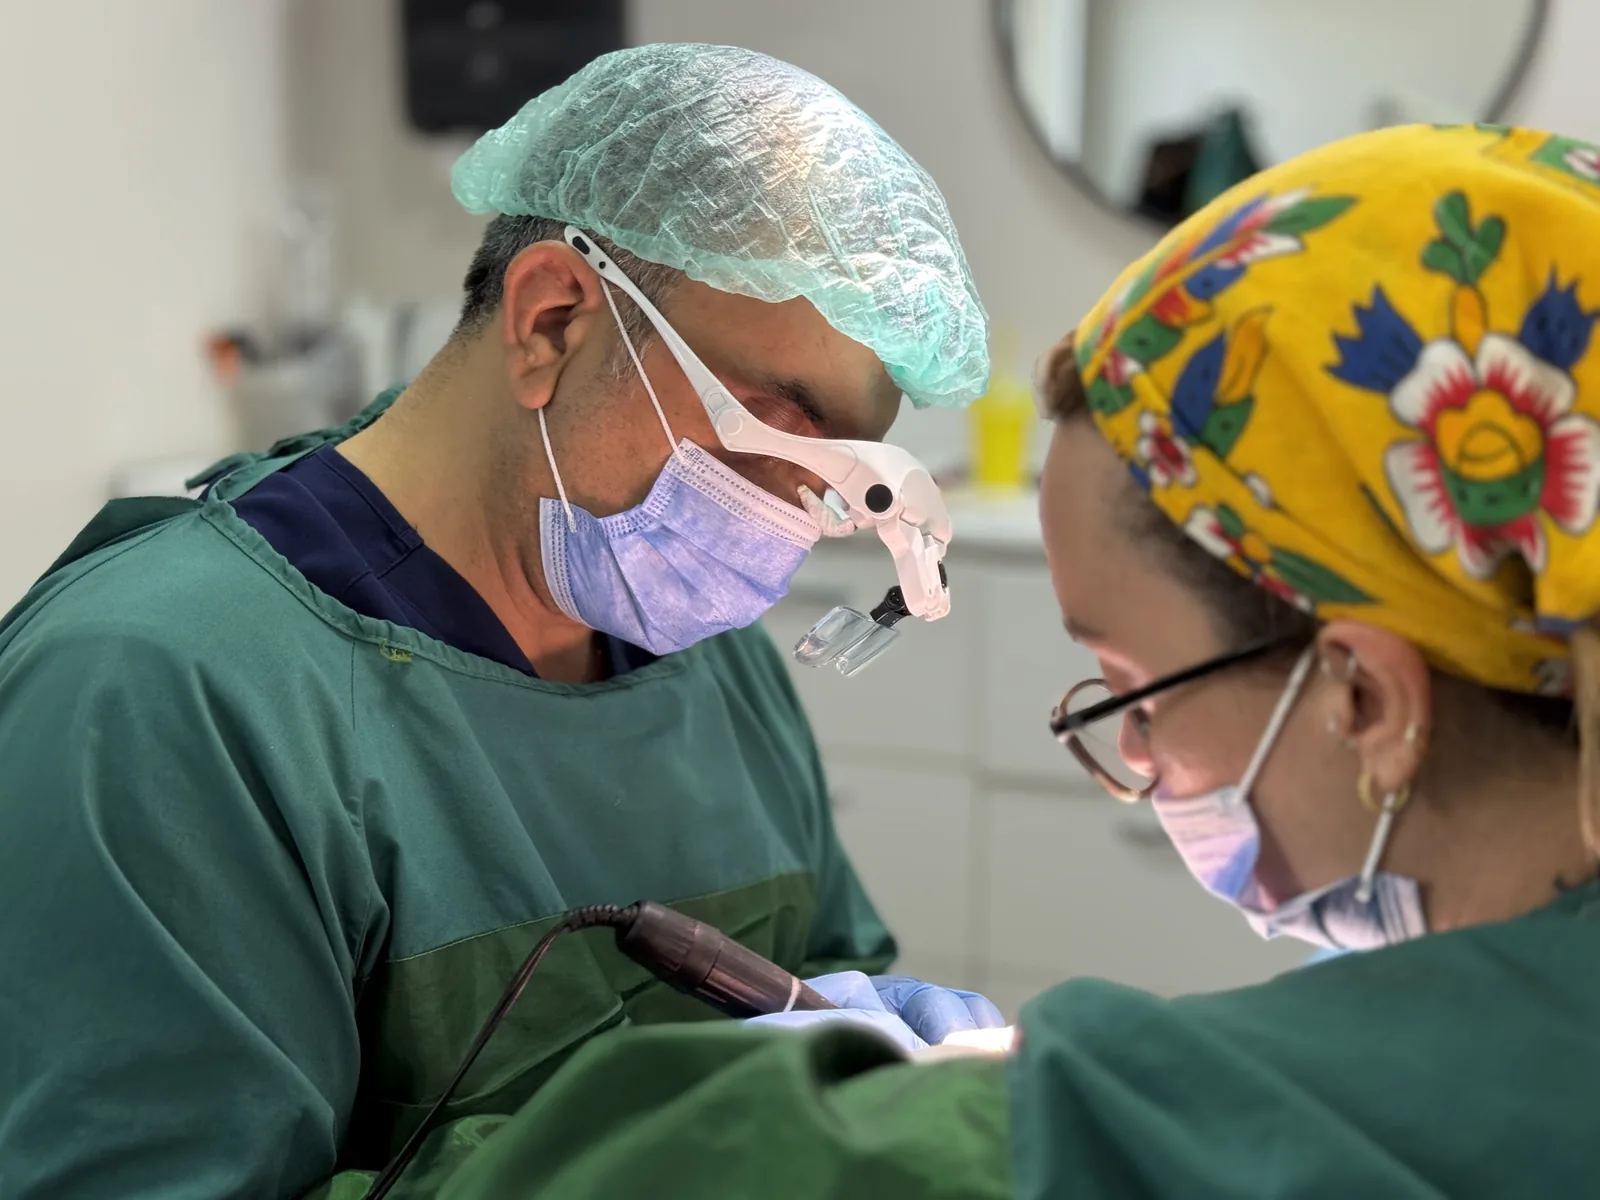
- Who performed the extraction, the channel creation and the graft placement — the surgeon, or a technician team?
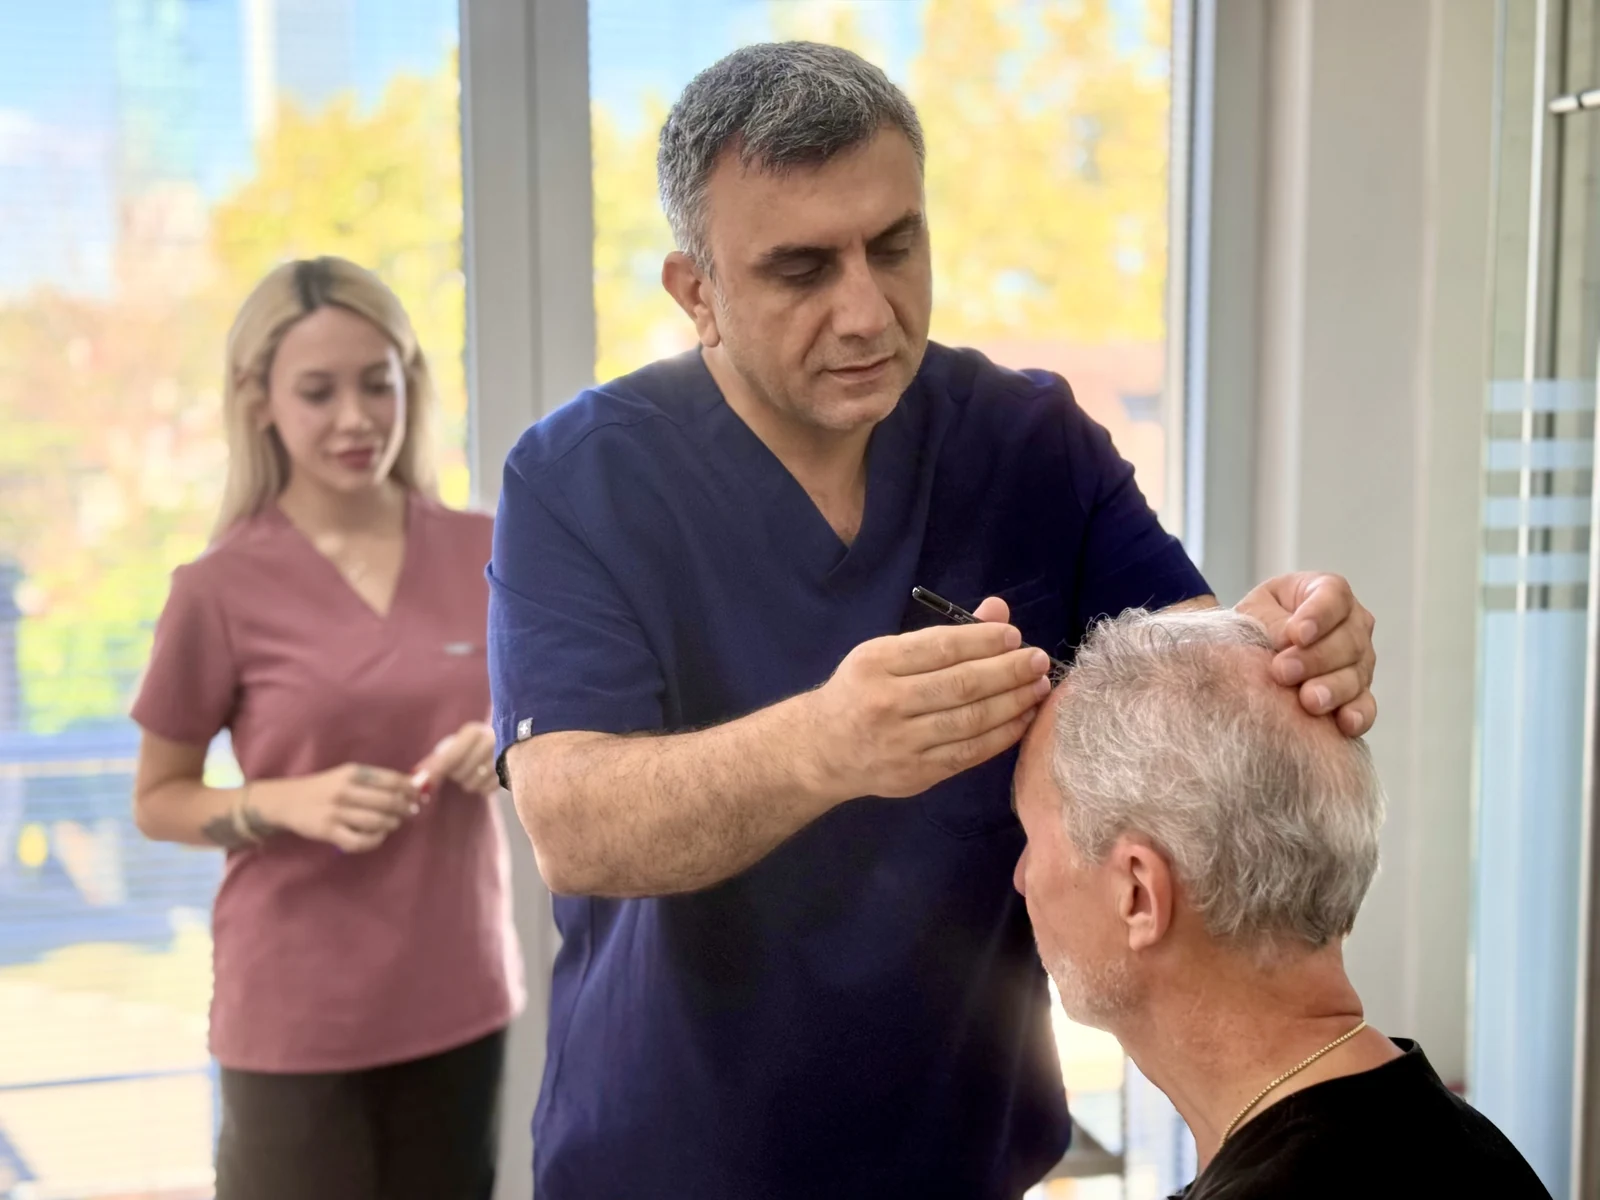
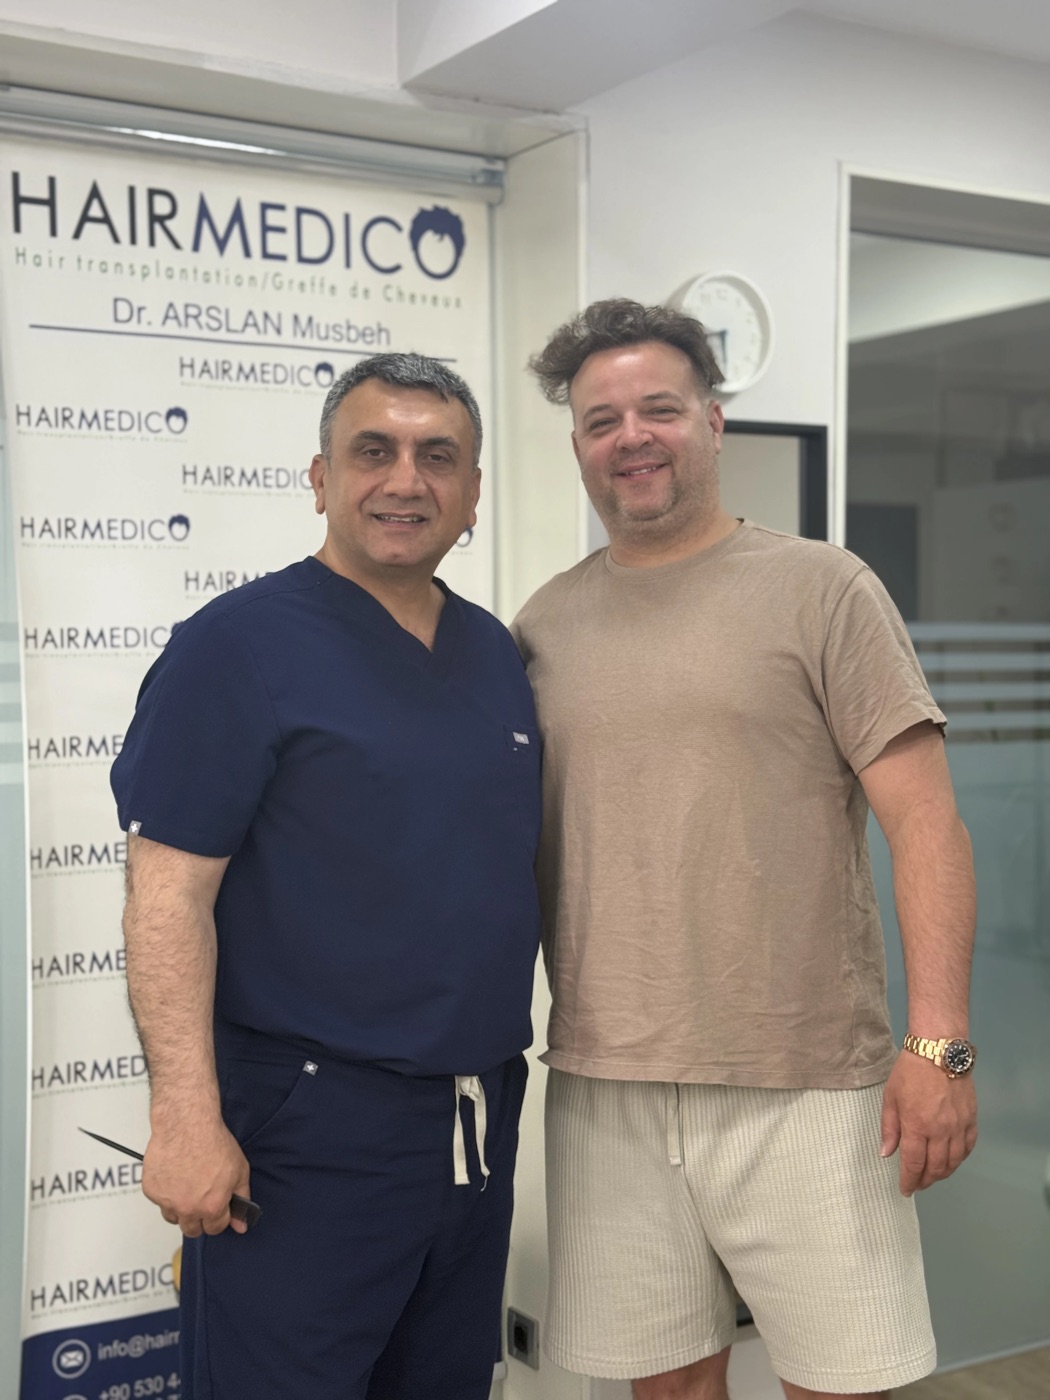
At Hairmedico, results shown throughout this page are documented at 3, 6 and 12 months under natural lighting, matched to the patient's own verified Trustpilot review wherever possible, and always surgeon-led by Dr. Arslan Musbeh — the same standard this guide recommends you look for everywhere else. If a clinic hesitates to answer any of the five questions above, treat that hesitation as useful information in itself: it usually means the gallery was built for marketing, not for documentation.
Ultimately, the most useful way to use a before-and-after gallery — from any clinic, not only this one — is as a reference point for your own starting pattern rather than a promise of a specific outcome. Send your own photographs to a surgeon who is willing to explain, in the same terms covered above, what timeline and density are realistic for your donor supply and hair characteristics specifically. A gallery can show you what is possible; only a personal assessment can tell you what is probable for you.